


Installation Instructions D29-1
YEAR
1996 - 1998
MAKE
HONDA
MODEL
Honda CMX 250 Rebel
PRODUCT #
FK003D29-1
PRODUCT DESCRIPTION
Front Brake Line Kit
Torque Specification
Stainless Steel 15-17 ft. lbs
Aluminum 12-15 ft. lbs
Step 1:
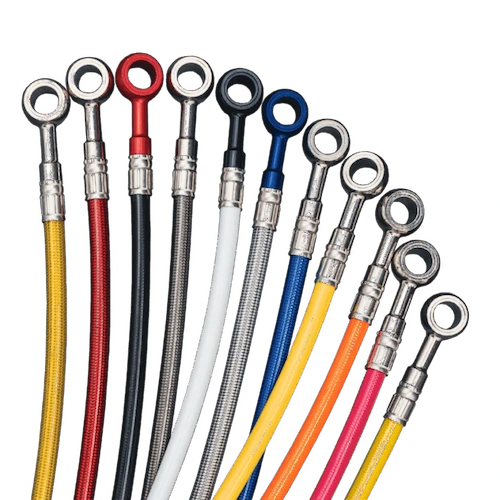
Identify the key components that complete our brake line kit:
You should have one (1) line and two (2) single banjo bolts. We have also included a total of six (6) washers; four
(4) will be used, and two (2) will be spares. We strongly suggest having a professional mechanic install your brake
lines, all other installs may void your warranty.
Step 2:
To ensure there is no paint damage from the brake fluid, completely cover the front end of the bike. Installing brake
lines can be a messy process, and brake fluid WILL spill!
Step 3:
After bleeding and drying out the OEM brake system, uninstall your front stock hose. Take note of how the stock
system was routed in case you need to re-install the hose.
Step 4:
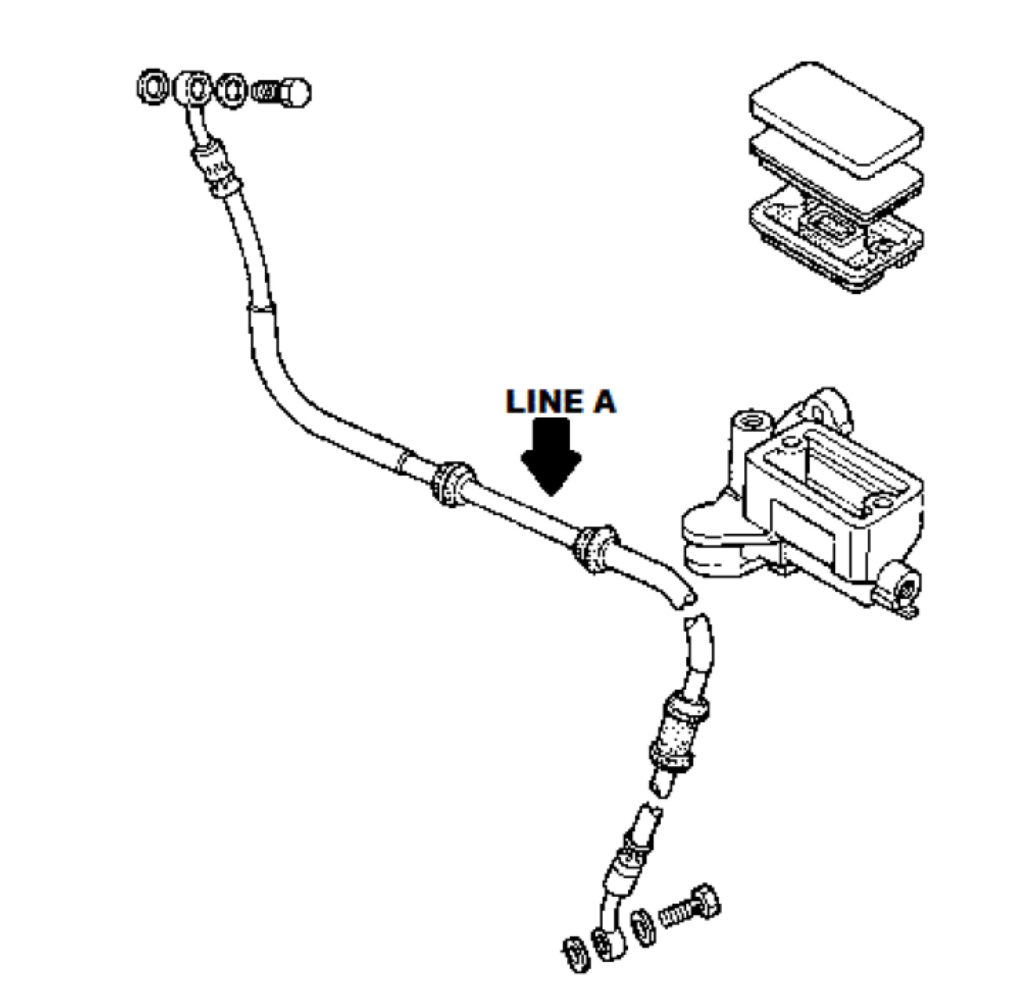
Familiarize yourself with the new GBrakes brake line; identify which fitting to install to the master cylinder. Install
the fitting at the front master cylinder using a single banjo bolt and two (2) washers, the sequence will be as follows;
master cylinder, washer, banjo fitting, washer, single banjo bolt (see picture A.)
Step 5:
Similar to the OEM routing; Route the line down through the stock line holder at the triple tree. Continue to route
the line down re-using the stock line holder at the fender. Install the line to the caliper using a single banjo bolt and
two (2) washers, the sequence will be as follows; caliper, washer, banjo fitting, washer, single banjo bolt
Step 6:
Before you begin the next step, please check the clearance of your new line. When the front end is fully extended or
compressed, make sure the line does not bind with anything. Be sure to triple check that the line is traveling correctly
and is clear from any obstructions.
Step 7:
Bleed your brake system according to the owner’s manual. Add DOT-4 brake fluid to the system and build
appropriate pressure.
Step 8:
Once you have bled the system, please check the brake fluid level in your master cylinder. Top off your brake fluid
according to your manual and close the brake fluid reservoir. To ensure there are no leaks or other issues, zip-tie the
brake lever to the throttle for at least 2 hours. If the line is not leaking and all else looks good, (bolts are tight and
torqued down to specification, washers are in place, and lines are clear from obstruction) you are now ready to ride
with the new brake system.
Please be aware that the overall braking feel has been changed dramatically. We suggest taking it easy while you get used to the new brake lever pressure and feel. We recommend checking your brake system periodically; be sure to check that your bolts are tight and VERY carefully check your lines for any leaks or damage. If there are any signs of damage or stress to the lines, the complete brake line kit will need to be replaced. Remember, our brake lines have a LIFETIME WARRANTY! If you have any problems or questions, do not hesitate to call our tech department –
(800) 685-6633.