Dirt Bike Brake Lines
Dirt Bike Brake Lines
That Don’t Fold When the Trail Pushes Back
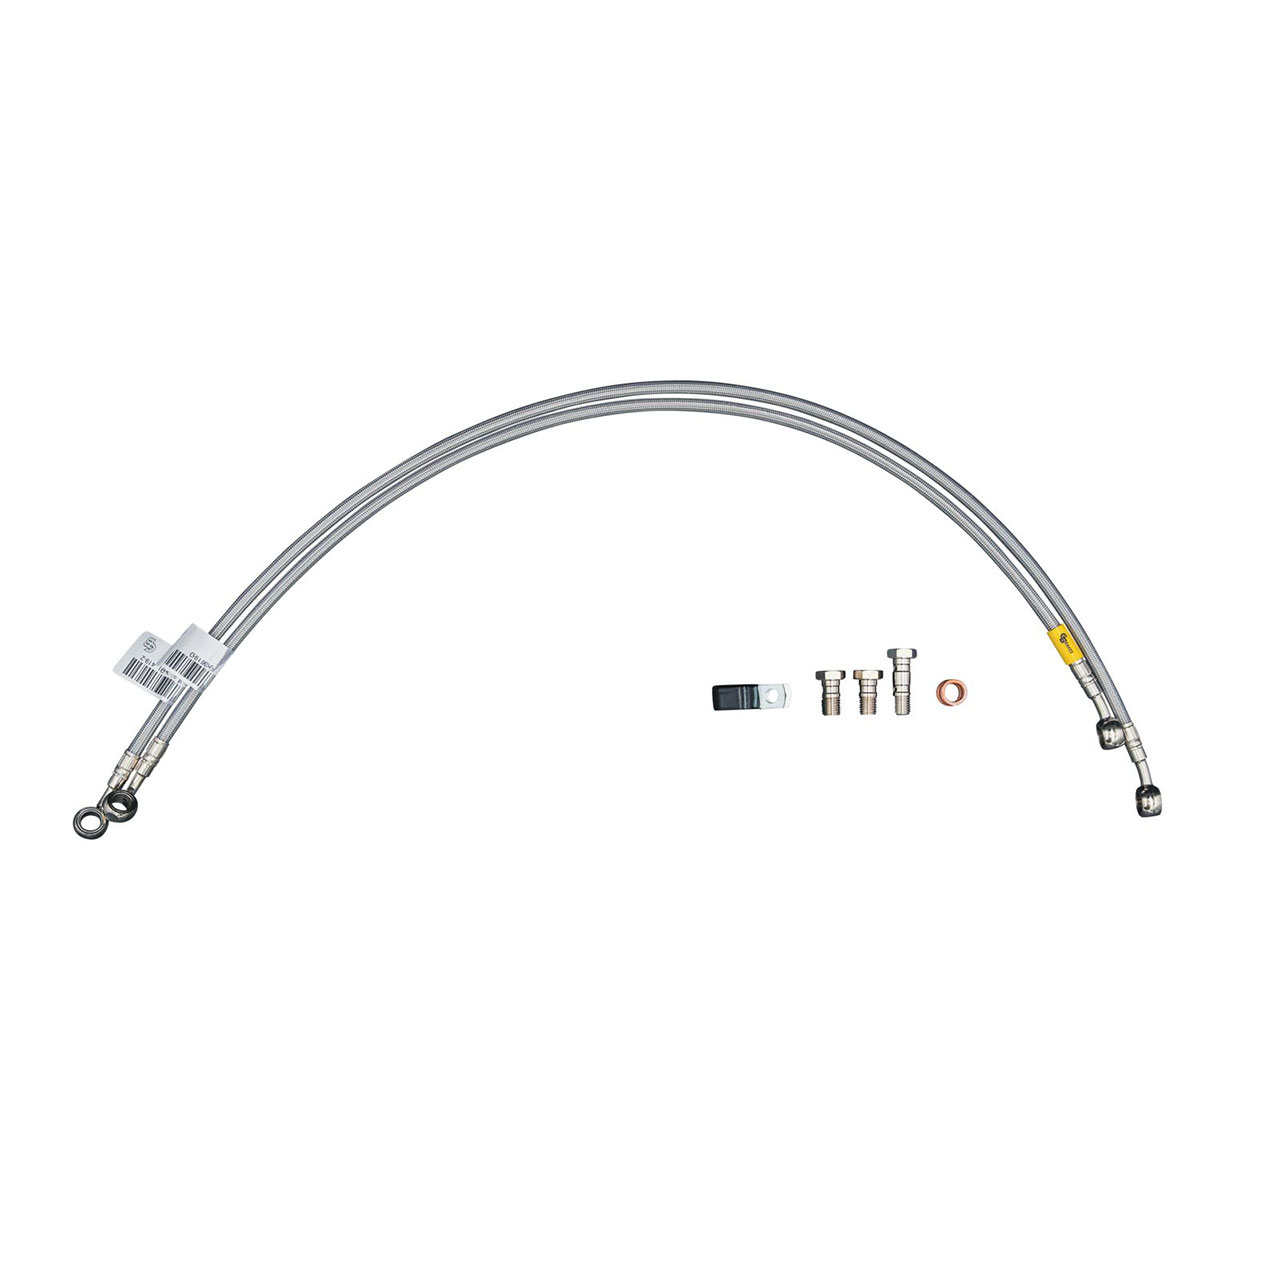
GBrakes® Dirt Bike Brake Lines use a stainless steel braid over a PTFE core to maintain sharp lever response under punishing heat, mud, and rock strikes. Each line is laser-measured, route-verified, and pre-bled for exact fitment and fast install. Designed for serious elevation changes and creek crossings, these lines won’t flex, swell, or rub out when the trail gets rough. Start building your dirt bike line setup here.
More Info
Trails don’t hold mercy. Out there, brake lines aren’t optional. They’re the only thing standing between controlled descent and blown corners. Stock rubber hoses swell under heat, flex through suspension travel, and wear fast from rock hits and abrasion. That’s how you lose pressure, lever feel, and braking consistency when it matters most. Gbrakes® Dirt Bike Brake Lines are built to take it. Every line uses a high-temp PTFE inner core that won’t expand under heat or pressure. We wrap it in stainless steel braid to resist rock strikes, trail snags, and rough weather. This combo keeps lever response sharp and braking predictable, no matter how long the descent or how deep the mud.
Each line is spec’d and cut to your bike’s exact routing, no bind, no slack, no rub. Every set is laser-measured, route-verified, and pre-bled for fast install and immediate feedback. These lines are ready for serious elevation changes, step-downs, fire roads, and creek crossings, not just coffee shop crawls. If your ride goes where others tap out, this is the brake line that holds pressure and control all the way down. Built in the USA, tested on real trails, and ready to take hits.
Factory hoses are fine, until they’re not. That moment on the trail where you grab a handful of brake and the lever fades. Or worse, when a flexed-out hose rubs raw against the frame, starts leaking, and your whole system goes soft without warning.
Here’s what goes wrong with OEM dirt bike brake lines
Internal Collapse
Heat + time + pressure cycles = internal wall breakdown. Result: lever fade, vague feel, inconsistent bite.
Abrasion Failures
Stock routing often puts hoses against swingarms or frame tabs. Friction kills them over time.
Poor Suspension Travel Tolerance
Full compression or rebound stretches the line or kinks it at the fitting. Eventually it leaks or fails mid-ride.
Crimp Failures
Budget crimps don’t hold up under vibration. They twist, weep fluid, or break at the threads.
What Gbrakes® Lines Fix
High-Flex Routing Geometry
Each line is engineered for clean routing through full suspension travel. No pinch. No stretch. No sharp bends.
Abrasion-Resistant Jacketing
Reinforced outer sheathing protects against frame rub, debris, and contact wear.
Stainless Steel Fittings
No corrosion, no flex under load, no backing out under vibration.
Pre-Bled + Pressure Tested
Each line is sealed, pre-bled, and test-pressured before it ships. It’s ready to go out of the box.
Consistent Lever Feel, Every Time
No fade, no pressure loss, no change in modulation, even on long descents or aggressive stop/start terrain.
Over 1,000 trail hours logged. No leaks. No failures. No drop in feel.
Install it once. Ride it hard. Forget it’s even there, until you need to stop in a hurry. Then it matters.
Browse below for Dirt Bike brake lines
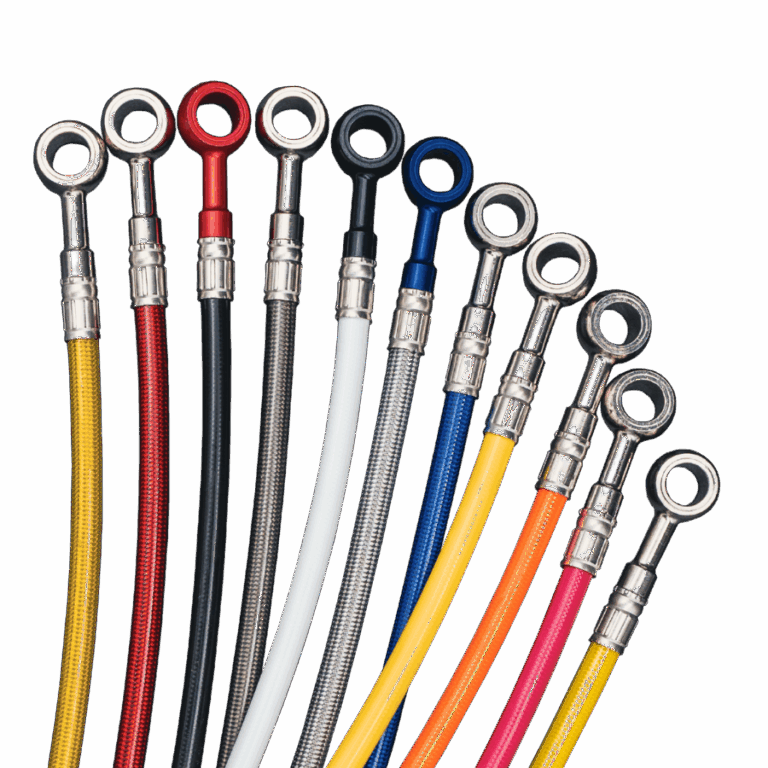
We spec by use, weight, and real ride conditions, not catalog filler. Fixed, floating, oversized pick based on how you ride. We’ll make sure it stops.
Showing 37–48 of 1383 results
-

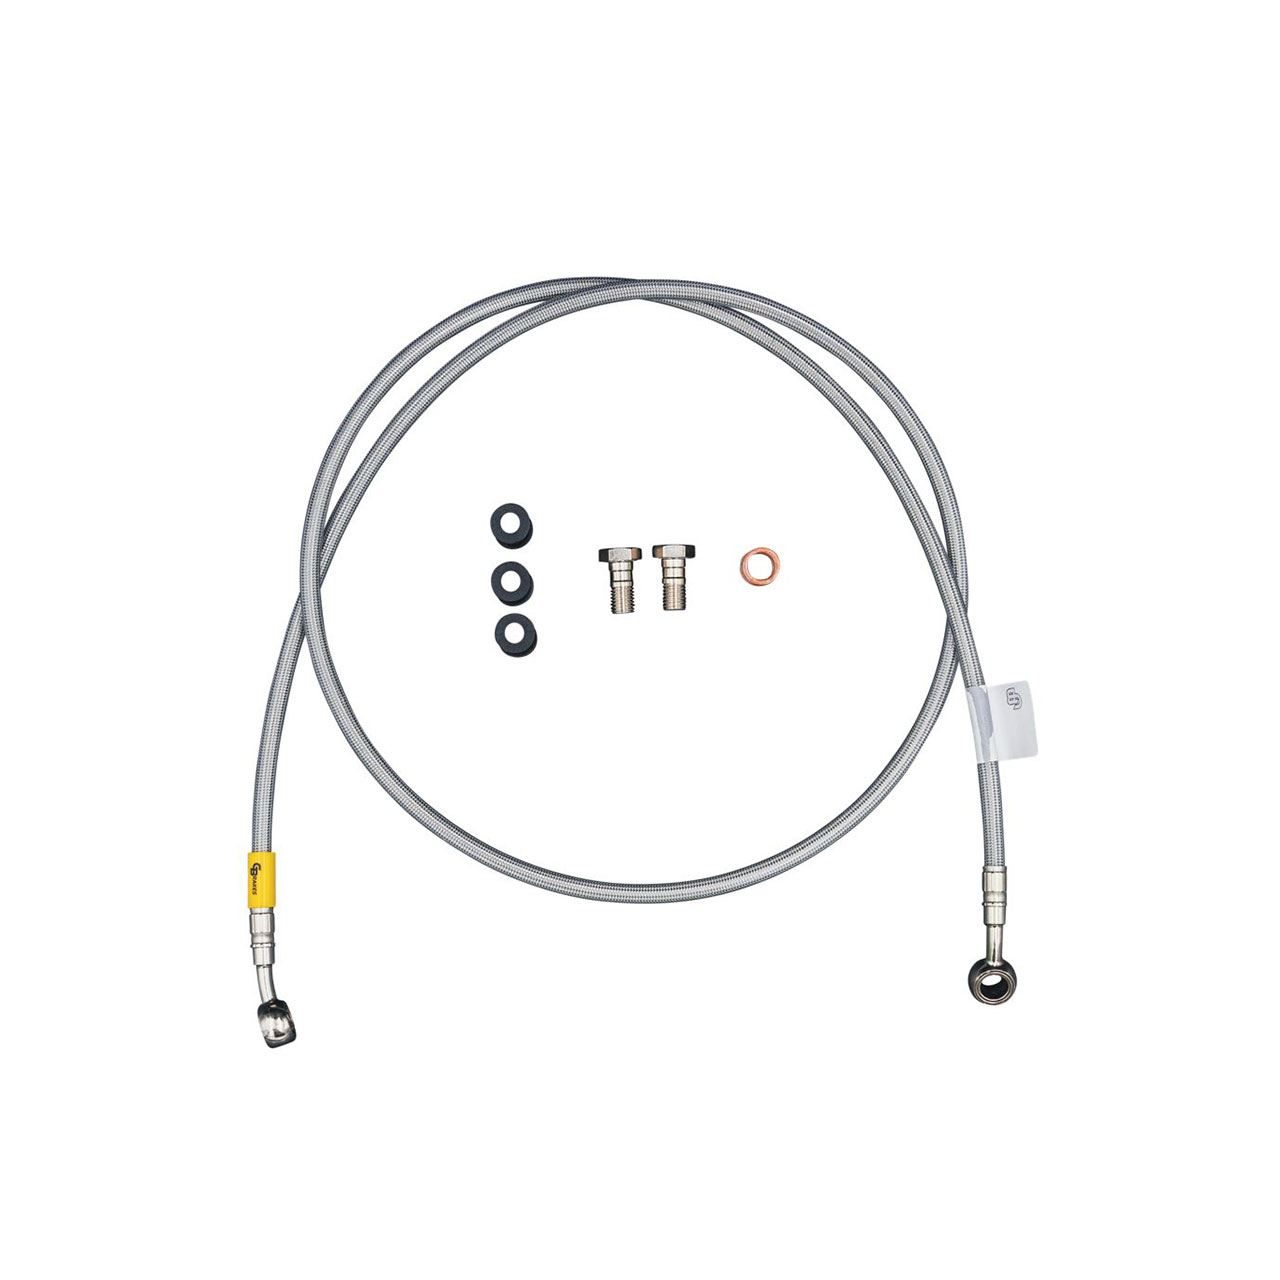
Stainless Steel 5 Line Kit – Front and Rear Included – FK003D777-5
$257.00 Add to cart -
Stainless Steel 5 Line Kit – Front and Rear Included – FK003D792-5
$257.00 Add to cart -
Stainless Steel 5 Line Kit – Front and Rear Included – FK003D805-5
$257.00 Add to cart -
Stainless Steel 5 Line Kit – Front and Rear Included – FK003D809-5
$257.00 Add to cart -
Stainless Steel 5 Line Kit – Front and Rear Included – FK003D812-5
$257.00 Add to cart -
Stainless Steel 5 Line Kit – Front and Rear Included – FK003D813-5
$257.00 Add to cart -
Stainless Steel 5 Line Kit – Front and Rear Included – FK003D883-5
$257.00 Add to cart -
Stainless Steel 5 Line Kit – Front and Rear Included – FK003D918-5
$257.00 Add to cart -
Stainless Steel 5 Line Kit – Front and Rear Included – FK003D925-5
$257.00 Add to cart -
Stainless Steel 5 Line Kit – Front and Rear Included – FK003D928-5
$257.00 Add to cart -
Stainless Steel 5 Line Kit – Front and Rear Included – FK003D935-5
$257.00 Add to cart -
Stainless Steel 5 Line Kit – Front and Rear Included – FK003D949-5
$257.00 Add to cart
Heat-induced swelling:
- Rubber cores expand after repeated braking on long descents.
- Expansion consumes brake fluid pressure, making the lever mushy.
Structural fatigue:
- Continuous bending over triple-clamps under suspension movement weakens hoses.
- Over time, the hose core delaminates, causing delayed lever feel.
Surface abrasion:
- Fine grit woven into the braid works like sandpaper on hose sleeves.
- One unprotected contact point under tension is all it takes to puncture.
Note on brake fluid moisture:
- Rubber hoses absorb moisture, lowering boiling points.
- Once the fluid boils, the system becomes spongy—and risky.
Here’s why Gbrakes® lines turn average rides into upgrades you feel:
fail under multiple trail-stress scenarios:
Hydrophobic core with zero thermal expansion:
- Designed to maintain firm lever feedback through repeated heavy use.
- Repels moisture, so brake fluid stays dry and pressure-ready.
304 stainless braid, full-length coverage:
- Protects against rock strikes and trail wear—not a marketing sleeve, it's real armor.
Banjo-style OEM fittings, model-specific:
- Seamless routing through clamps, no zip-tie reroutes, no risk of rubbing under full lean.
Anodized ferrules tested for 40,000+ flex cycles:
- Sealed to resist dust, water, and trail grit—no weepy lines mid-ride.
Pre-bleed assembled and tagged:
- Delivered ready to go. No chase for bubbles or bleed after first ride.
Burst-tested to >3,000 psi:
- Walls aren’t hype—tested under pressure that crushes most competitors.
These aren’t bullet points—they’re ride-defining callouts.
Immediate Feedback You Can Feel Start to Finish
- Sharper lever bite within first squeeze
- No fade through long braking sequences
- Firm, repeatable leverage across terrain transitions
- No need for early-season bleeds
- No visible wear despite heavy use
- Confidence: when you hit the lever, it responds, every time
Step-by-Step Install for Trail Integrity
- Match hose length to suspension specs—don’t stretch or bind.
- Route along factory paths; avoid exhaust and rotating parts.
- Don’t reuse crush washers or ferrules.
- Torque fittings to OEM specs; no brute force.
- Use DOT 4 or DOT 5.1 fluid to maintain high boiling points.
- Cycle the lever until firm, then back bleed if necessary.
- Compress suspension to limit height, confirm no drag or rope bend injuries.
- Inspect after first ride; re-check torque and mounting orientation.
What These Lines Mean for Your Braking Setup
- Matched fidelity: Remains consistently tight even with upgraded pads and rotors.
- System resilience: Once installed, wear becomes predictable and controlled.
- Operational simplicity: No seasonal bleed or hose-rotate troubleshooting needed.
- Incremental gains: Leverage returns to optimal when paired with step-up upgrades.
- Modular upgrade path: Lines first—then rotors, pads, and braking blades fall into place naturally.
Brake lines are the foundation of your braking system. Everything else, pads, rotors, masters, relies on the integrity of the lines. Start there. Stay installed. Leave soft brakes behind.
Live fast. Brake Faster.